Post-production
Logos and images
Add company logos and other images to the credits in up to five columns, size the whole block or a single logo, and add a caption below or above each one.
The video loads from YouTube when you press play. Watch it on YouTube.
This page covers the part from 5:15. Jump to 5:15 on YouTube.
The production company, the distributor, the film fund: their logos go in an image block. You choose each image from your files, the block lays them out in up to five columns, and you can size the whole row or one logo on its own, with an optional caption below or above each one.
Before you start
- You need to be an admin or an editor on the project to change the composition.
- Upload the logos first, in Files: the project’s files, or the organization’s files to use them in every project. Accepted formats are PNG, JPEG, WEBP, SVG and GIF, up to 10 MB per image. A logo with a transparent background (PNG, WEBP or SVG) sits cleanly on the credits’ background.
Steps
1. Add an image block
In the Composition panel, click Add block where the logos should go (usually in the last scene), and in Choose block type pick Image.
2. Choose the images
- In the block, click Choose image.
- In Pick an image, find the logo: search by name, or filter by Organization, This project or Library (images provided by the platform). Click it to add it.
- Click Add another image for the next logo, and again for each one after it.
Each image is added one at a time, in order. Hover over an image in the block to Replace it or Delete it.
3. Lay them out in columns
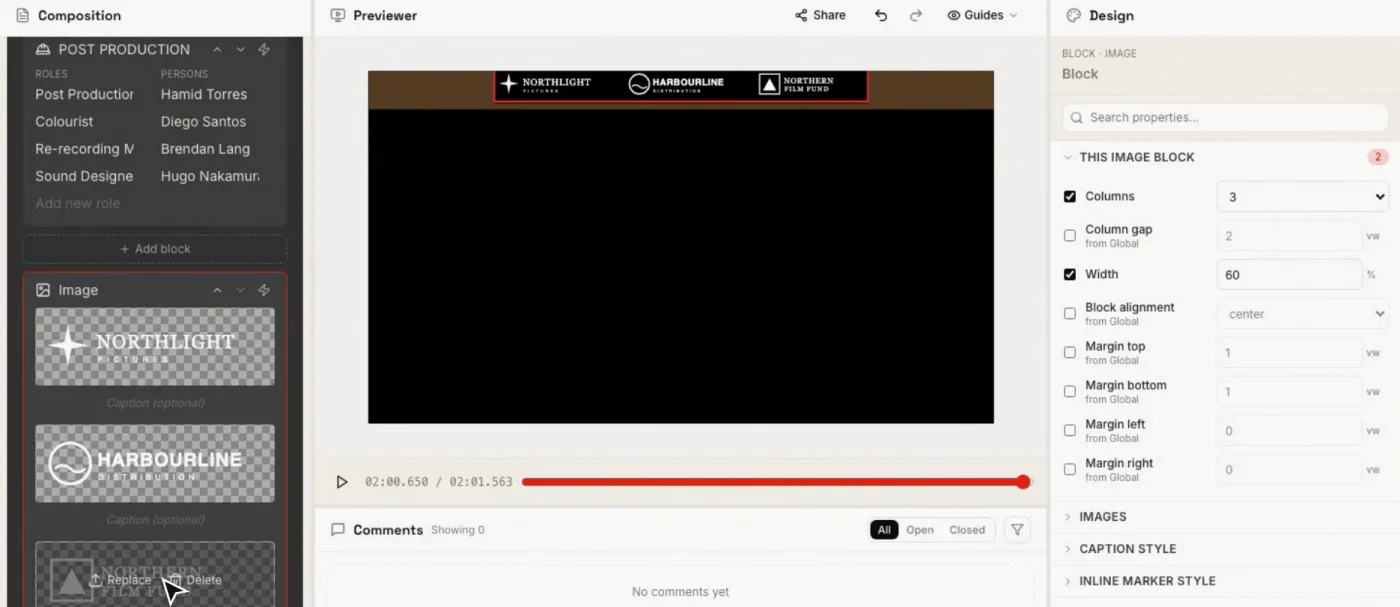
Select the image block. In This image block, tick Override Columns and choose from 1 to 5. The images fill the columns from left to right, then start a new row: three logos with 3 columns make one row.
Column gap sets the space between them and Block alignment where the row sits.
4. Set the size
There are two widths:
- The block’s Width (in This image block) sets how wide the whole row is, as a percentage. Make it smaller to shrink every logo at once.
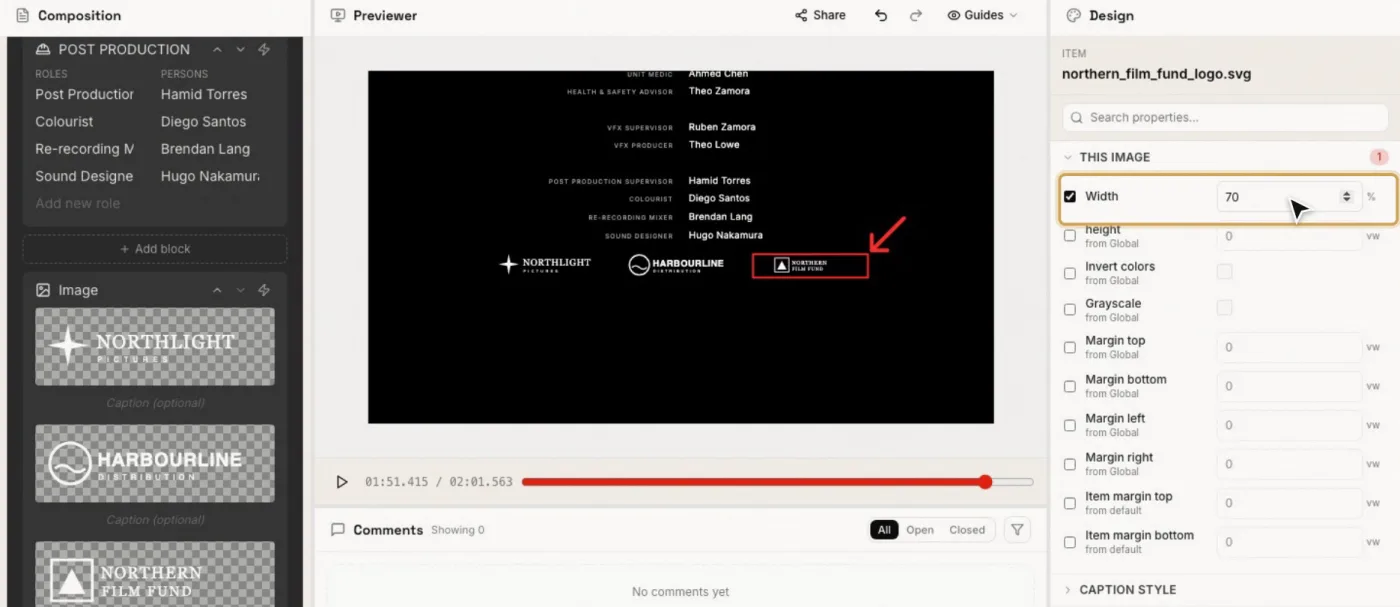
- One image’s Width: click a single logo in the block, and in This image override its Width, a percentage of its column (100% by default). Use it to balance a logo that looks bigger or smaller than the others.
In This image you can also set a fixed height (0, the default, keeps the image’s proportions), Invert colors (a black logo becomes white on a dark background) and Grayscale.
5. Add a caption
Under each image in the block there is a Caption (optional) field. Type a short line, for example “With the support of”, and it appears with that logo.
To style the captions and choose where they go, open Caption style:
- Caption position: Below the image (the default) or Above it. “With the support of” usually reads best above the logo.
- The usual text settings: Font family, Weight, Font size, Color, Line height, Letter spacing, Text case, Text alignment.
Set them on the block for all its captions, on one image for that caption only, or under Credits movie → Image for every image in the film.
Related pages
Try it on your own production
EndCreditsPro is free during the beta. Credits from day one.
Last updated October 22, 2026.